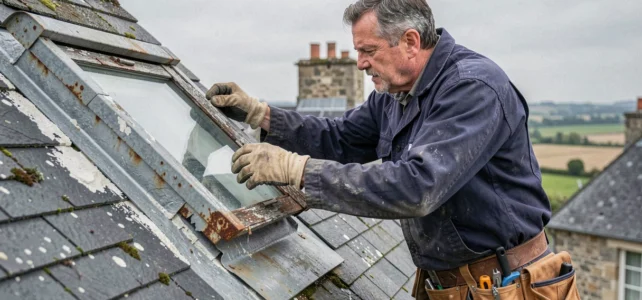
A Velux installed over twenty years ago on an old roof is not replaced like a standard window. The original frame, the spacing between rafters, the condition of the connecting zinc, and the type of covering dictate each step. Before ordering a new frame, it is the supporting structure that must be examined.
Frame and dimensional compatibility on old roofs
On a traditional framework, the spacing of the rafters rarely exceeds the width of a new-generation Velux. Older models (GGL or GHL series from before 2000) used frame dimensions that no longer match current references. We regularly observe a discrepancy of a few centimeters, enough to make a simple exchange impossible.
When dimensions diverge, the modification of the frame becomes essential. It is necessary to remove the framing elements surrounding the opening, recut or double the side rafters, and then reconstruct a supporting frame to the dimensions of the new frame. For old wood (oak, chestnut), sawing requires appropriate tools and a prior check of the wood’s health condition.
This structural adaptation distinguishes a replacement on an old roof from a project on a new house. It adds between half a day and a full day of work and sometimes requires reinforcement with nailed struts if the rafter section is too weak to support the weight of modern glazing.
For those considering changing an old Velux on an irregular framework, a precise measurement of the interior and exterior dimensions of the existing frame is a prerequisite for any order.
Zinc connection and waterproofing on old coverings
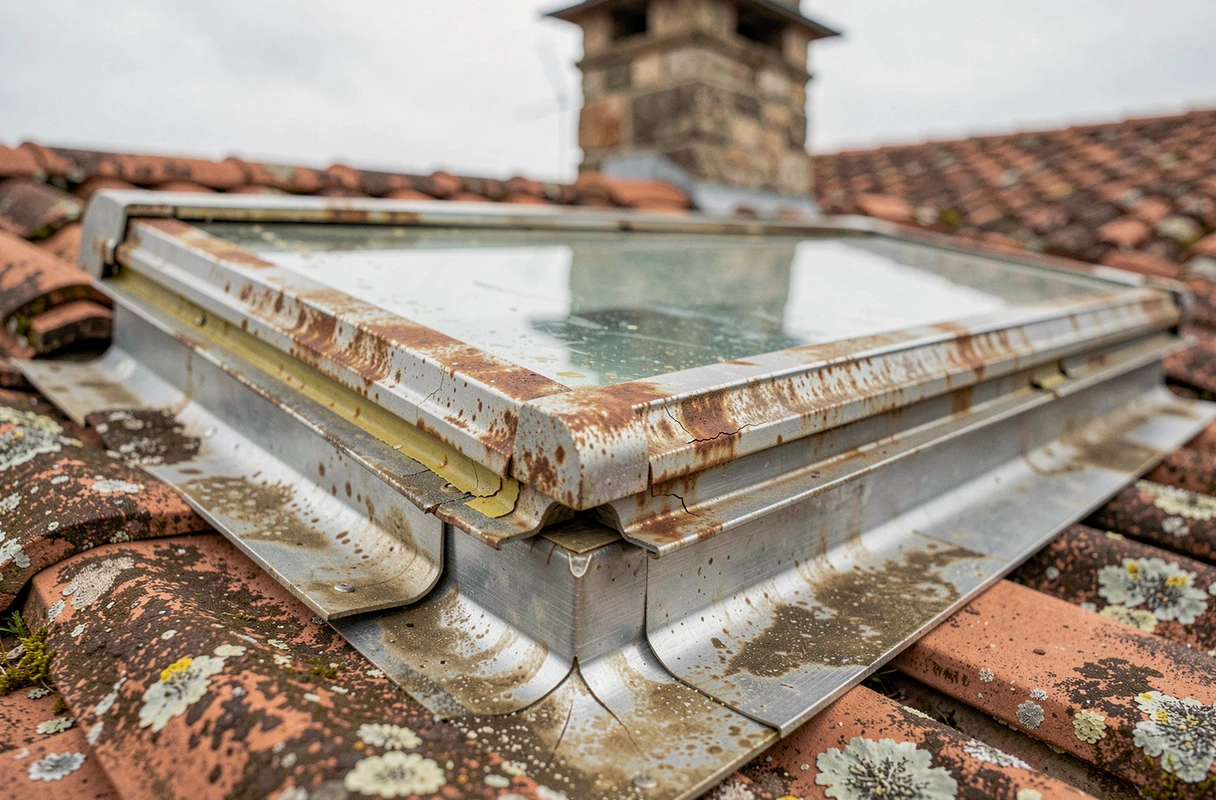
The peripheral waterproofing of a roof window relies on a connection kit (flanges, flashings, side sheets). The standard kits provided by the manufacturer are calibrated for mechanical tiles or commonly sized slates. On an old roof, the problem is rarely the window itself: it is the connection between the frame and the covering that leaks.
Custom flashings and flanges
The connecting zinc often needs to be custom-made when the covering has irregularities. Natural slates of varying sizes, non-standard old flat tiles, or covering with small canal tiles: each case requires specific shaping of the upper flashing and side flanges.
A roofer then works in conjunction with the zinc worker. They bend and weld the connection pieces to fit the actual profile of the covering, ensuring proper drainage of runoff water. Neglecting this step leads to infiltrations that sometimes appear months after installation, during the first heavy rain combined with wind.
Points of caution regarding the old frame
Before removing the old Velux, we recommend inspecting the condition of the sheathing or covering support around the opening. On roofs over thirty years old, the wood under the connection frequently shows signs of old moisture, or even early rotting. Replacing the window without addressing this support amounts to putting new on fragile.
- Check the sheathing for at least thirty centimeters around the frame, probing the wood with a punch to detect any softened areas.
- Inspect the under-roof screen (if it exists): a degraded HPV film will not protect the new connection.
- Plan for a fungicidal treatment on healthy wood around the perimeter before reinstallation, to limit moisture uptake.
Signs of the end of life of an old Velux and intervention thresholds
Visible infiltration is not the first sign of degradation, it is the last. Several symptoms appear well before and justify a preventive replacement rather than a curative one.
An increasing difficulty in operating the opening mechanism signals a deformation of the frame, often linked to repeated cycles of moisture and drying. The wood swells, the PVC warps, the hardware strains. On rotation models, the pivot axis seizes and the sash no longer pivots fully.
Persistent condensation between the two faces of the glazing indicates a break in the peripheral seal of the double glazing. The insulating gas has escaped, thermal performance drops. One goes from a high-performance glazing to a simple transparent barrier, with significantly increased heat loss.
- Blackened or detached glazing seals: loss of air tightness, drafts perceptible in windy weather.
- Mold traces on the interior frame: a sign of a thermal bridge established, often at the fixing points.
- Recurring fogging on the inner face of the glazing, even in the absence of high humidity in the room: the glazing no longer performs its insulating role.
Prior declaration and urban planning rules for replacing a Velux
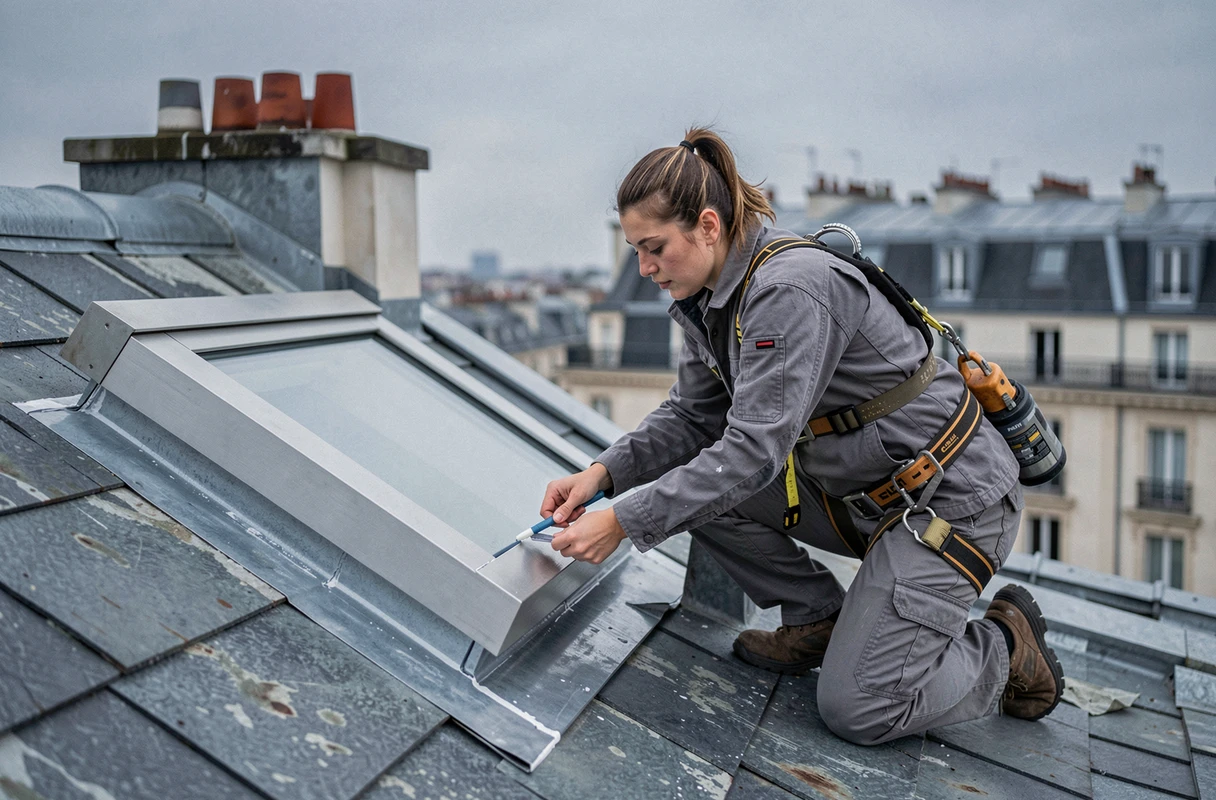
A strictly identical replacement (same dimensions, same position, same exterior appearance) is generally exempt from prior work declaration. As soon as the project modifies the exterior appearance of the roof, the situation changes.
Enlarging the opening, moving the window, or changing the type of glazing visible from the outside triggers the obligation of a prior declaration to the town hall. In protected areas (historic monument perimeter, classified site, ABF zone), the constraints are stricter and may impose specific materials or colors for the exterior frame.
We recommend consulting the local urban planning document before finalizing the choice of model. Some local regulations impose specific frame colors or prohibit roof windows on certain slopes. Discovering this constraint after purchasing the Velux complicates the project and delays the intervention.
The administrative question thus arises ahead of the technical question. A well-prepared replacement starts with a visit to the town hall, not with an online order.