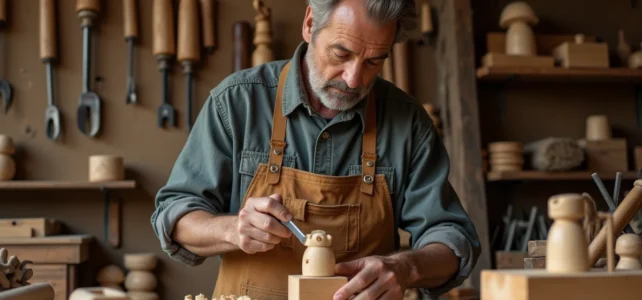
A piece of lime wood, a sharp knife, and an hour in front of you: that’s all you need to carve your first shape from wood. Wood carving is appealing because it requires little equipment to start, but it quickly becomes discouraging when tackling a wood type that is too hard or when pushing the chisel against the grain. Understanding these two parameters, the wood and the grain, changes everything from the very first piece.
Choosing your wood according to the grain before touching a tool
Before even discussing technique, we must talk about material. The grain of the wood refers to the orientation of the visible fibers on the surface. A fine grain means tightly packed fibers that are easy to cut cleanly. A coarse grain catches the blade and splinters under pressure.
Lime wood remains the most common choice for beginners. Its fibers are soft, even, and it forgives hesitations. Pine, often recommended because it is inexpensive, poses a problem: its knots are hard and its resin clogs the blades. It’s better to avoid it at the beginning.
You may have noticed that some pieces of wood split cleanly while others splinter into shards? This is the difference between cutting with the grain and cutting against the grain. Always carve with the direction of the fibers, from the bottom to the top of the grain. When the blade starts to tear instead of cut, you are going against the grain: turn the piece around or change your angle.
To identify the direction of the grain on a raw block, run your thumb over the surface. In one direction, it’s smooth. In the other, it catches slightly. Always carve in the smooth direction.
Knowing the techniques for starting wood carving helps understand why this relationship with the grain conditions every gesture, from the first knife stroke to the finishing details.
Knife carving or gouging: two distinct approaches

The carving knife (sometimes called a whittling knife or a carving knife) and the gouge are two fundamentally different tools. They serve different shapes and require different gestures.
The knife: ideal for small shapes
The knife works by removing fine shavings, pulling the blade towards oneself. One holds the piece in one hand, the knife in the other, and removes material in small successive passes. This is the technique used for figurines, spoons, and small everyday objects.
- Thumb grip: the thumb pushes the back of the blade to control the cut with precision. A basic gesture for details and tight curves.
- Pull cut: the blade glides towards the body, the wrist locked. Suitable for long passes that rough out a general shape.
- Stop cut: the blade is pushed vertically to mark a clean stop, then a shaving is removed from the side. This allows for creating sharp angles without splintering.
A single well-sharpened knife is enough to produce complete sculptures. Sharpening matters more than the brand or price of the tool.
The gouge: carving relief
The gouge is a wood chisel with a curved edge. It is pushed into the wood with the palm or a mallet. It is used to carve relief shapes, hollow out volumes, and work on larger surfaces than a knife would allow.
To start, a medium-width half-round gouge is sufficient. Sets of twenty gouges sold in kits are tempting, but most blades will remain unused for months. It’s better to buy two or three quality gouges and learn to vary the attack angles.
Common mistakes that hinder progress in wood carving
Most dropouts occur in the first few weeks, rarely due to a lack of talent. Three mistakes almost systematically recur.
The first: wanting to carve too many details too early. A beginner who tries to carve eyes or feathers before properly roughing out the general shape ends up with a wobbly piece. Wood carving works in stages: first the rough volume, then the intermediate planes, and finally the details. Each phase uses different tools and a different level of pressure.
The second: neglecting sharpening. A poorly sharpened tool crushes the fibers instead of cutting them. The result is fuzzy, the wood tears, and the physical effort increases, which tires the hand and leads to slips. Sharpening your blades every twenty to thirty minutes of work is not excessive.
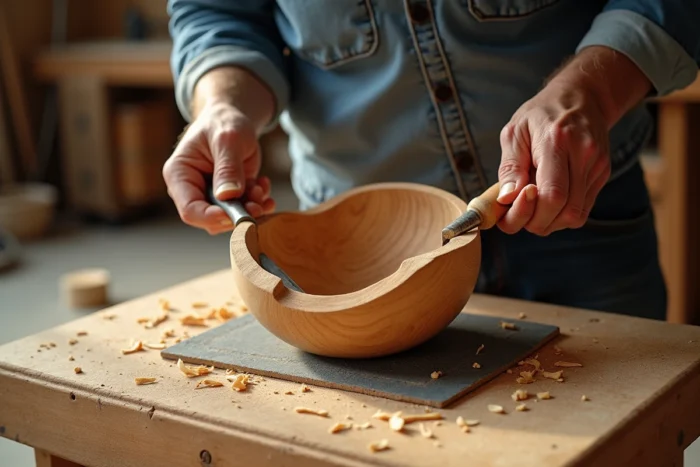
The third: securing the piece in an unstable manner. A block that moves during carving forces you to push harder, and pushing leads to slipping. A simple table vise or even a clamp on a workbench stabilizes the piece and frees both hands to guide the tool.
First carving projects to progress quickly
The choice of the first project influences motivation. An overly ambitious project discourages, while a too-simple project teaches nothing.
- The wooden spoon: it combines roughing out with a knife, hollowing with a gouge, and finishing by sanding. In a single piece, you work on volume, hollow, and surface.
- A small stylized animal (bird, fish): rounded shapes, few details, but the need to manage curves and the grain that changes orientation depending on the face of the block.
- A simple relief on a board: a leaf, a letter, or a geometric pattern carved in bas-relief. This project teaches how to control cutting depth and work on a fixed plane.
The art of wood carving is built project by project. Each finished object brings an understanding of the material that theory alone cannot provide. Lime wood remains your best ally at the beginning, the knife your main tool, and the direction of the grain your constant compass.